Welcome to Elderfield Elder Gem and Molly Quest Guide
Step-by-step walkthrough for Molly's The Elder Gem quest in Welcome to Elderfield: Mall Food Court Mine, Sealed Passage, Peculiar Offering, Gem Golem, and Lapidary Table.
Start The Elder Gem with Molly in Town Outskirts, enter the Mall Food Court Mine, talk to Mall Rat, place the Peculiar Offering on the Sealed Passage Altar, defeat the Gem Golem, and unlock Blueprint: Lapidary Table.
Finding the Elder Gem for Molly is the single most important early-game progression milestone in Welcome to Elderfield. While your first days on the Farm focus on clearing Ghost Tentacles and planting Wheat for Farmer Hans, your tool, weapon, and accessory progression is gated behind Molly’s Workshop in the Town Outskirts. Completing her two-part introductory chain (Helping Molly followed by The Elder Gem) unlocks the Workshop, gives you a Furnace, and awards Blueprint: Lapidary Table for advanced gem and accessory crafting.
Before heading into the Mall Food Court Mine, you can check which deity alignment best suits your combat setup using the interactive planner on our Welcome to Elderfield Wiki Hub.
Prerequisite: Helping Molly & Unlocking the Workshop
Before Molly assigns The Elder Gem, you must complete her introductory task, Helping Molly, in the Town Outskirts:
- Speak to Molly in Town Outskirts: Visit Molly near her home and Workshop in the Town Outskirts. Starting
Helping Mollyimmediately puts a Rusty Pickaxe in your inventory. - Locate Copper Ore in the Beginner Mines: Enter the local Beginner Mine near Molly’s Workshop. Look for stone nodes marked with orange bumps, which indicate Copper Ore.
- Mine and Deliver 1 Copper Ore: Click and hold with the Rusty Pickaxe equipped to mine Copper Ore x1, then return to Molly and hand it over.
- Claim Your Workshop Rewards: Completing
Helping Mollygrants full access to the Workshop, awards Furnace x1, and unlocks the Furnace crafting recipe so you can smelt Copper, Iron, Gold, Verdite, and Void Crystal Bars.
Step-by-Step Walkthrough: The Elder Gem Quest
Once Helping Molly is complete, speak to Molly again in the Town Outskirts to accept The Elder Gem. Unlike Copper Ore, the Elder Gem cannot be mined from the Beginner Mine near the Workshop. You must travel into the Mall Food Court Mine.
| Quest Step | Location | Key NPC / Object | Required Action | Outcome / Item Gained |
|---|---|---|---|---|
| Step 1 | Town Outskirts | Molly | Speak to Molly after finishing Helping Molly | Starts The Elder Gem task |
| Step 2 | Mall F1 Food Court | Mine Entrance & Mall Rat | Enter the Mall Food Court Mine and talk to Mall Rat | Opens the Sealed Passage (buy Basic Pickaxe here) |
| Step 3 | Sealed Passage (Mall Mine) | Lost Miner | Clear the obstructed path inside the Sealed Passage and speak to the Lost Miner | Receives Peculiar Offering |
| Step 4 | Sealed Passage Altar | Statue with Glowing Green Rocks | Carry the Peculiar Offering to the statue surrounded by glowing green rocks and place it on the Altar | Summons the Gem Golem boss |
| Step 5 | Sealed Passage Arena | Gem Golem | Defeat the Gem Golem in combat | Drops the Elder Gem (Key Item) |
| Step 6 | Town Outskirts (Workshop) | Molly | Return the Elder Gem to Molly at the Workshop | Unlocks Blueprint: Lapidary Table (Forge Upgrade) |
Detailed Route Through the Mall Food Court Mine
1. Entering the Mall Food Court & Buying the Basic Pickaxe
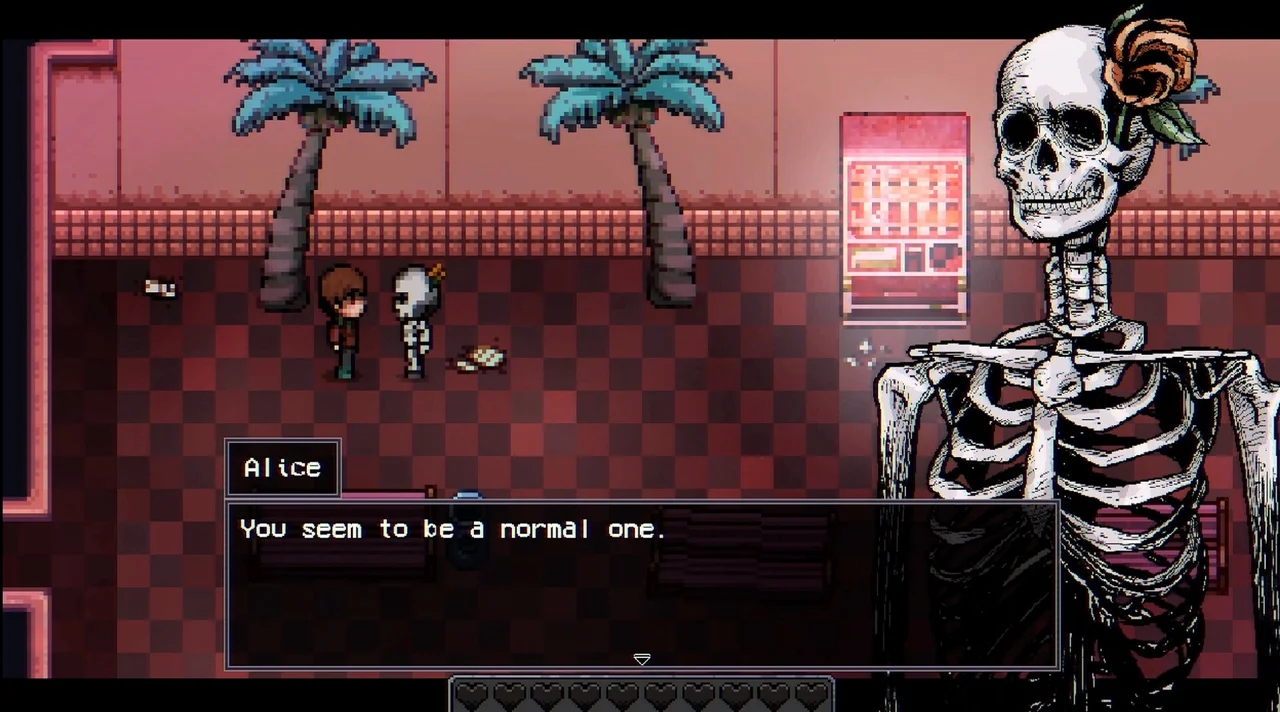
Head into the Mall from Town and navigate to the F1 Food Court. Alongside the restaurant stalls (such as "Burgers Burgers" and "Jon's Smoothies"), you will find the entrance to the Mall Mines. Step just inside the mine entrance and speak to Mall Rat. Talking to Mall Rat accomplishes two vital tasks at once:
- He opens the Sealed Passage for
The Elder Gem. - He sells the Basic Pickaxe, which is required to mine higher-tier Mall Mine ores needed for Farmer Hans’s
The Skull Chalicetask (Giant Skull Chalice).
2. Rescuing the Lost Miner for the Peculiar Offering
Enter the newly opened Sealed Passage inside the Mall Food Court Mine. Break through the rocks blocking the corridor until you reach the Lost Miner trapped inside. Speak to him after clearing his path, and he will reward you with the Peculiar Offering.
3. Placing the Peculiar Offering on the Glowing Green Rock Altar
Continue deeper into the Sealed Passage until you spot an ancient statue surrounded by glowing green rocks. Make sure your HP and MP are topped off with cooked food or potions, then interact with the Altar to place the Peculiar Offering. Doing so immediately triggers the boss encounter against the Gem Golem.
4. Defeating the Gem Golem & Claiming Blueprint: Lapidary Table
To beat the Gem Golem reliably without over-leveling:
- Church Alignment: Pledge to Kaal (+10% Defense, +10% Magic Defense) or Nezroth (+10% Max HP, +10% Defense) at the Church before entering the Mall (see our Old Gods, Shrines & God Forge Guide). Avoid staying aligned with Hagroth during boss fights, as Hagroth reduces your Attack and Magic Attack by -10%.
- Early Combat Spells: Completing Old Man Jackson’s
Build-A-Wifetask in Town South teaches the Dark Blast ritual, and completing Pete’sBy the Godstask in the Town South Apartment Basement teaches Ghost Blast. - Turn-In: Once the Gem Golem falls, pick up the Elder Gem and bring it back to Molly in the Town Outskirts to receive Blueprint: Lapidary Table.
Complete Workshop, Forge & Tool Upgrade Progression
Unlocking the Workshop and Blueprint: Lapidary Table is the foundation of Elderfield’s crafting economy. Below is the complete progression path for upgrading your Forge and farm/dungeon tools across all three task tiers:
| Upgrade / Tool Tier | Unlock Task or Source | Task Giver & Location | Key Crafting / Progression Benefit |
|---|---|---|---|
| Workshop & Furnace | Helping Molly | Molly (Town Outskirts) | Unlocks the Workshop, awards Furnace x1, and unlocks the Furnace blueprint |
| Blueprint: Lapidary Table | The Elder Gem | Molly (Town Outskirts) | Unlocks the Lapidary Table upgrade for the Forge after defeating the Gem Golem |
| Forge Upgrade (Tier 2) | An Adventurous Spirit (Stage 1) | Ansel (Old Woods Campsite) | Investigate 5 Mysteries in The Old Woods (Stage 2 at 8 Mysteries awards Extra Pouch x2) |
| T3 Forge Upgrade (Blueprint) | Forbidden Snack | Zeek (The Catacombs 3F) | Requires Stage 2 House unlocked and Pickled Eyeballs x10 cooked at an Oven |
| Sturdy / Quality / Superior Watering Can | Forged in the Workshop | Molly’s Workshop | Expands watering range from 1 tile (Capacity 16) to 3 tiles (32), 5 tiles (48), and 8 tiles (64) |
| Sturdy / Quality / Superior Gardening Hoe | Forged in the Workshop | Molly’s Workshop | Expands soil tilling range from 1 tile to 3 tiles, 5 tiles, and 8 tiles |
| Basic / Sturdy / Quality / Superior Scythe | Forged in the Workshop | Molly’s Workshop | Upgrades weed-clearing Scythe level from Lv 1 (Rusty Scythe) up to Lv 5 (Superior Scythe) |
Essential Tier 1 Mall, Sewers & Greystone Tasks to Pair With Your Run
While you are running between the Mall Food Court, Town South, and Greystone Estates for Molly’s quests, you can clear these high-value Tier 1 tasks in the exact same trip:
| Task Name | Task Giver & Location | Exact Objective & Solution | Verified Completion Reward |
|---|---|---|---|
The Skull Chalice | Farmer Hans (Farmhouse) | Buy the Basic Pickaxe from Mall Rat in the Food Court Mine, mine Mall ores, and craft a Giant Skull Chalice | Unlocks Pumpkin Seeds and Chef Elroy recipes (Pumpkin Pie, Pumpkin Muffin, Special Donut) |
A Fast Food Fiend | Farmer Hans (Farmhouse) | Enter the "Burgers Burgers" restaurant in the Mall Food Court and defeat the Denizen of the Deep Fryer | Unlocks Corn Seeds and Chef Elroy recipes (Cornbread, Mana Muffin, Special Burger, Harvest Stew) |
Tentacle Cleanup & Fishing in the Mall..? | Adrian (Town South Apartment) & Office Worker (Mall F1 Hallway) | Use the Mall F1 Hallway Key from Adrian, catch a Stalktopus in the hallway pool for the Office Worker to summon the Mall Administrator, and defeat it | Clears the tentacles, awards the Basic Axe, and opens the south office containing the 3rd Gate Key |
The Gatekeeper | The Gatekeeper (Sewers) | Bring Pizza, then collect the 1st Gate Key ("Burgers Burgers" counter), 2nd Gate Key (buy from Rachel in General Store), and 3rd Gate Key (Mall F1 south office) | Unlocks the West, South East, and North East gates in the Sewers |
An Eldritch Prank | Pumpkid (Town South Park) | Buy Eldritch Slime from the "Snacks" vendor in the Mall Food Court, pour it into the wine bottles on the coffee table in Pumpkid’s house, exit/re-enter, and tell Pumpkid | Steel Key |
Penpals | Brittany (Town North East House) | Clear Ghost Tentacles in Greystone Estates Room 9 with Cleansing Balm, enter Room 8 for the Room 7 Key, defeat the Soul Warden in Room 7 for the Sledgehammer, smash rubble in Room 9, and speak to Carla | Sledgehammer (kept from Room 7) and unlocks Bean Seeds |
Secrets of the Deep | Art (Town North East House) | Reach the 3rd floor of the Mall Mines after starting the task | Blueprint: Preserving Barrel |
Remember that Molly is also one of the 9 romanceable villagers in Elderfield! While visiting her in the Town Outskirts, bring her loved gifts (Copper Bar, Silver Bar, Gold Bar, Metal Chunks, or Coffee) as detailed in our Complete Romance, Akira & Villager Gift Guide. Once you unlock Pumpkin Seeds, Corn Seeds, and Bean Seeds from these Tier 1 tasks, head over to our Beginners Farming, Spider Plant & Fishing Contest Guide to maximize your daily farm income.
Frequently Asked Questions
Where do you find the Elder Gem in Welcome to Elderfield?
The Elder Gem drops from the Gem Golem boss inside the Sealed Passage of the Mall Food Court Mine. You must first accept The Elder Gem task from Molly in Town Outskirts and speak to Mall Rat inside the mine entrance to open the Sealed Passage.
How do you get the Peculiar Offering to summon the Gem Golem?
Clear the blocked path inside the Sealed Passage of the Mall Food Court Mine to rescue the lost miner. Speaking to the lost miner rewards you with the Peculiar Offering, which you place on the Altar surrounded by glowing green rocks.
What is the reward for completing Molly's The Elder Gem task?
Returning the Elder Gem to Molly at the Workshop in Town Outskirts rewards you with Blueprint: Lapidary Table, a critical upgrade for the Forge and Workshop crafting progression.
Do you need to complete Helping Molly before starting The Elder Gem?
Yes. You must first complete Helping Molly by using the Rusty Pickaxe she gives you to mine 1 Copper Ore (rocks with orange bumps) in the Beginner Mines near the Workshop. Completing Helping Molly unlocks Workshop access and your first Furnace.